STM32F4 Discovery Semihosting with the
GNU Tools for Embedded ARM Processors Toolchain
Ross Wolin - last updated 2014.07.14

What is Semihosting?
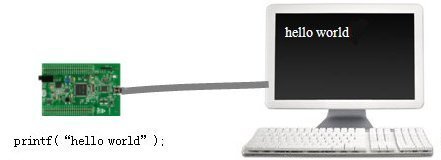
Semihosting is a neat way to redirect STDOUT and STDIN from an embedded system to a debug window on a PC. This allows you to output messages using printf functions without having to use/configure an RS232 or USB Virtual COM Port, and can also read input from the PC's keyboard via scanf functions.
For the STM32F4 Discovery, semihosting uses the existing USB STLINK h/w connection to the debugger (GDB), and outputs messages to the debug server's console window (OpenOCD GDB server)
Programs using semihosting only work when run under the debugger (GDB), without a debugger there is no way to output debug strings, and the first printf or scanf call will hang. If you need to run your program without GDB, either make a separate 'release' version which compiles out your printfs, or use a standalone device for debug output, like USB VCP, USART, etc...
These instructions have been tested with Ubuntu Linux 12.04 LTS, GNU Tools for ARM Embedded Processors 4.8-2014q2, and OpenOCD 0.8.0. They may also work for other versions.
Download and Build OpenOCD
Ubuntu 12.04 has an OpenOCD package, however when I tried it, it didn't appear to have STLINK support. I built OpenOCD from source.
Retreive a copy of the OpenOCD source tarfile from Source Forge and unpack it someplace
mkdir ~/tmp
cd ~/tmp
tar -xvjz openocd-0.8.0.tar.bz2
Before building the source, enable STLINK support. I also prefer to install the package locally, rather than the default /usr/local/bin area, which would require root priviledges, etc, hence the --prefix option.
Build the code with:
cd ~/tmp/openocd-0.8.0
./configure --enable-maintainer-mode --enable-stlink --prefix=$HOME/openocd-0.8.0
make
make install
As a sanity check, look in ~/openocd-0.8.0/bin and you should see an openocd binary.
If you want to remove the OpenOCD source after the build:
cd ~/tmp
rm -rf openocd-*
rm openocd*.bz2
To use the copy of OpenOCD you built, include it in your search path with something like:
export PATH=$PATH:~/openocd-0.8.0/bin
Firmware Build Settings
To use semihosting in my program, I needed to do a few things:
- Add these commands to main()
//Disable STDOUT buffering. Otherwise nothing will be printed before //a newline character or when the buffer is flushed. This MUST be done //before any writes to STDOUT to have any effect... setbuf(stdout, NULL); printf("Hello world\r\n"); - Modify Makefile's link by adding flags "--spec-rdimon.specs -lc -lrdimon"
- Add an __end__ symbol to the linker layout (something in the semihosting library is looking for this)
._user_heap_stack :
{
  . = ALIGN(4);
  PROVIDE ( end = . );
  PROVIDE ( _end = . );
  PROVIDE ( __end__ = . );
  . = . + _Min_Heap_Size;
  . = . + _Min_Stack_Size;
  . = ALIGN(4);
} >RAM
Building + Running the Hello World Sample
There is a complete/buildable Hello World sample available on Github.
Download my code (including modified version of the STM library code) by cloning the repository:
cd ~
git clone https://github.com/rowol/stm32_discovery_arm_gcc
If you want the unmodified STM library source, download that from STM's website (I've added Makefiles and linker files to build STM's example projects w/ the GNU/ARM toolchain, but left everything else intact..)
If you haven't already, add the ARM toolchain and OpenOCD to your search path with something like:
export PATH=$PATH:~/gnu.tools.for.ARM.Embedded.Processors/gcc-arm-none-eabi-4_8-2014q2/bin
export PATH=$PATH:~/openocd-0.8.0/bin
Build the sample:
cd stm32_discovery_arm_gcc/semihosting
make
Start the GDB server (in a separate terminal window):
openocd -f board/stm32f4discovery.cfg (or use "make openocd" for convenience)
Start GDB:
arm-none-eabi-gdb hello_world.elf (or use "make gdb" for convenience)
I have added a .gdbinit file to the semihosting directory, which enables semihosting and programs the flash. Press 'c' to run the sample, you should see "Hello World" printed in the OpenOCD/GDB server window, when prompted press return and you should see one more string printed.
The repository also contains several examples for the STM32F4 Discovery, which all use the same STM firmware library (included.) Check README.md if you want to know which blog postings the other samples accompany
Compiling Out Printfs
As mentioned earlier, the program in this semihosting sample won't run if a debugger is not connected (i.e. no way to output debug strings, the first printf call will hang.)
Generally I use semihosting as a debug output (although my sample does also demonstrate keyboard inout.) To switch between debug and release versions, I usually set up db_printf and db_puts macros then use these rather than calling printf directly:
#ifdef USE_DBPRINTF
 #define db_puts(s)                   puts(s)
 #define db_printf(szFormat, ...)     printf(szFormat,##__VA_ARGS__)
#else
 #define db_out(s)
 #define db_printf(szFormat, ...)
#endif
If the USE_DBPRINTF symbol is not defined, all calls to db_printf and db_out will do nothing.
Links
Send comments, questions, money in large denominations, etc to eng at mysticengineering.com
If you enjoyed this article, please consider buying my products ...

|

|
|
ATX PS Adapter
Use an ATX PC power supply as a 5V, 3.3V, and +12V/-12V bench supply the easy way, without cutting the case or mounting external connectors, resistors, LEDs, switches, and fuses. Provides visual indication when supply is plugged in and turned on, also fuses the power voltage outputs for safety. Run USB powered development boards via the USB connectors on the 5V line. |
Ultimate Serial Port (Debug Buddy)
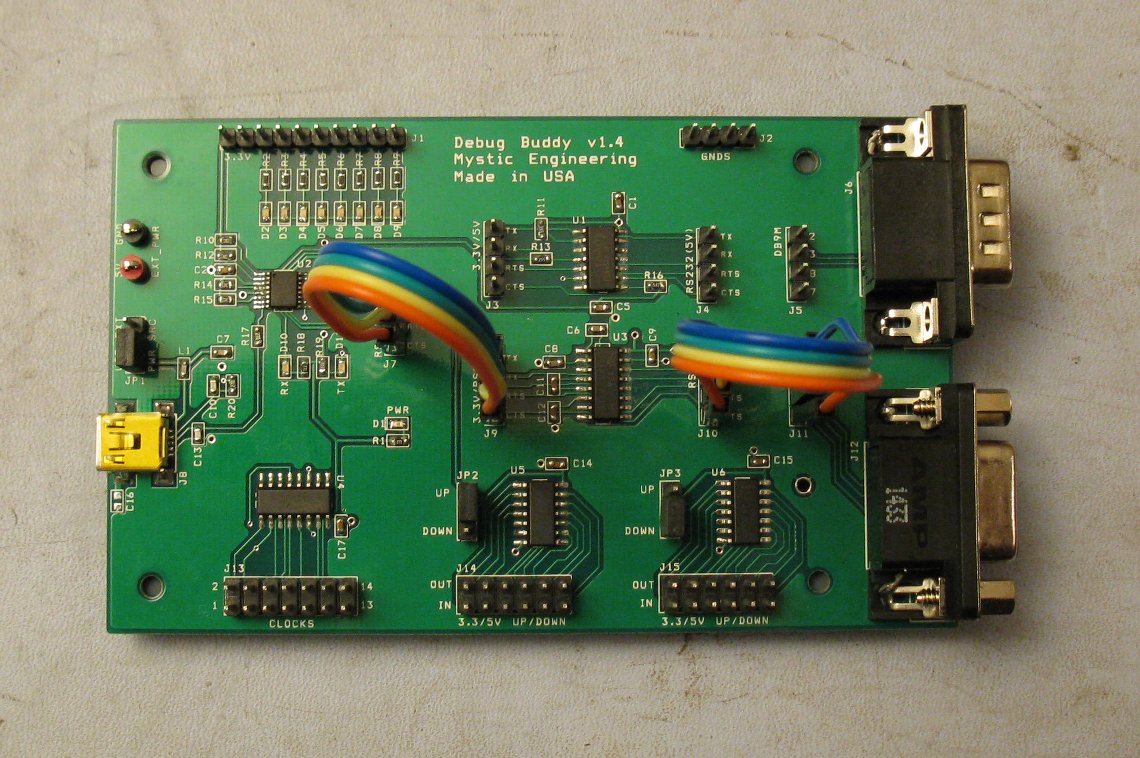
USB serial port with standard, 5V and 3V RS232, plus integrated null modem and gender changer. Implements TX/RX and RTS#/CTS# for optional hardware handshake. Also includes 3.3V<->5V level shifters, debug LEDs, and 13 clock sources. Valuable tool for hands on problem solving and hacking |
