Using Caltopo Maps on your Garmin GPS
Ross Wolin - last updated 2015.08.14

Caltopo is a rather excellent free mapping site that allows you to view maps of various types, as well as visualize your own GPX track(s). For a while I've been creating my own Caltopo maps and downloading tracks from those maps as GPX files which my GPS will display over its basemap. Recently I also discovered how to download whole maps containing multiple GPX tracks combined with a topo, satellite, or other map layer, which I can use as Custom Map.
These instructions work with my Garmin 62st and 64s and will probably also work with other GPS's that are able to use a KMZ file. When I say GPS in this article, I mean a 62st or a 64s.
* KMZ is a file format used by Google Earth. KMZ stands for "Keyhole Markup language Zipped." It's a collection of images (map tiles) along with coordinate/location information, compressed into a single file. Armed with this knowledge, you will certainly be the life of any party.

Generate the KMZ Map File
For demonstration, you can use one of my Caltopo maps as a sample. Open my map in Caltopo now... I'll wait... got it? ... okay then. At the top of the screen, under the Print menu, select "Download KMZ file" The red box is the area that the map will cover. You are able to adjust the size of the box with the drag handles in the corners, as well as move the box by grabbing the center dot. (You may have to zoom out first, after I did that, I was able to do this with both Chromium and Firefox.)
You can choose the type of map you want using the menu at the upper right hand screen corner. (Google satellite images are not available, but if you want a sat image USTopo Imagery might do it for you. )
Once you have positioned the box the way you want, download the map from Caltopo by clicking the "Download KMZ" link on the left side. The file will have a name that incorporates the base layer (i.e. something like "ArcGIS_Topo.kmz") After you download the file, rename it to something that identifies the map and makes sense to you: in this case I'd probably rename the map as LakeChaplain.kmz. Whatever you rename the file is the name that will show up in the Custom Maps selection on the GPS later.
Tip: Sometimes I want the tracks from the Caltopo map, but no background at all. An easy way to do this is to select an unsupported map (like Google Satellite) on the first page, before you choose Download KMZ file. Doing this will give you a blank map with just the GPS tracks, a quick and dirty way to make an trail overlay from a bunch of separate GPX tracks.

Load the KMZ Map File onto your GPS
I'm certain there are complicated ways to load a custom map onto your GPS using Garmin Basecamp. I've had a Garmin GPS for at least a decade and I've only run Basecamp once. =)
When you connect the GPS to the USB port on a PC running Ubuntu Linux, after the GPS boots it appears as an external drive, the same as a USB stick, sdcard, etc would. (I would assume this also happens on Windows and OSX: that exercise is left up to the student.) After the GPS appears as a drive, navigate to the $/Garmin/CustomMaps folder and copy the .kmz file into that directory... that's it. Disconnect the GPS from the computer and power it up.
The new map you have just loaded should be enabled by default, so if you move the Map display cursor so a spot within your map and zoom in, you should see it. If you want to disable that new map, from the Map display, press the Menu button, then select Setup Map and then Select Map. Select Custom Maps, then on a 64 you should see a list of the maps you have loaded and you can enable/disable individual maps.
Note: When I last tried this on my 62st, I believe you could enable/disable ALL the custom maps at once, but not individual maps.)
Happy exploring!
Please send comments, questions, money in large denominations, etc to eng at mysticengineering.com
If you enjoyed this article, please consider buying my products ...

|

|
|
ATX PS Adapter
Use an ATX PC power supply as a 5V, 3.3V, and +12V/-12V bench supply the easy way, without cutting the case or mounting external connectors, resistors, LEDs, switches, and fuses. Provides visual indication when supply is plugged in and turned on, also fuses the power voltage outputs for safety. Run USB powered development boards via the USB connectors on the 5V line. |
Ultimate Serial Port (Debug Buddy)
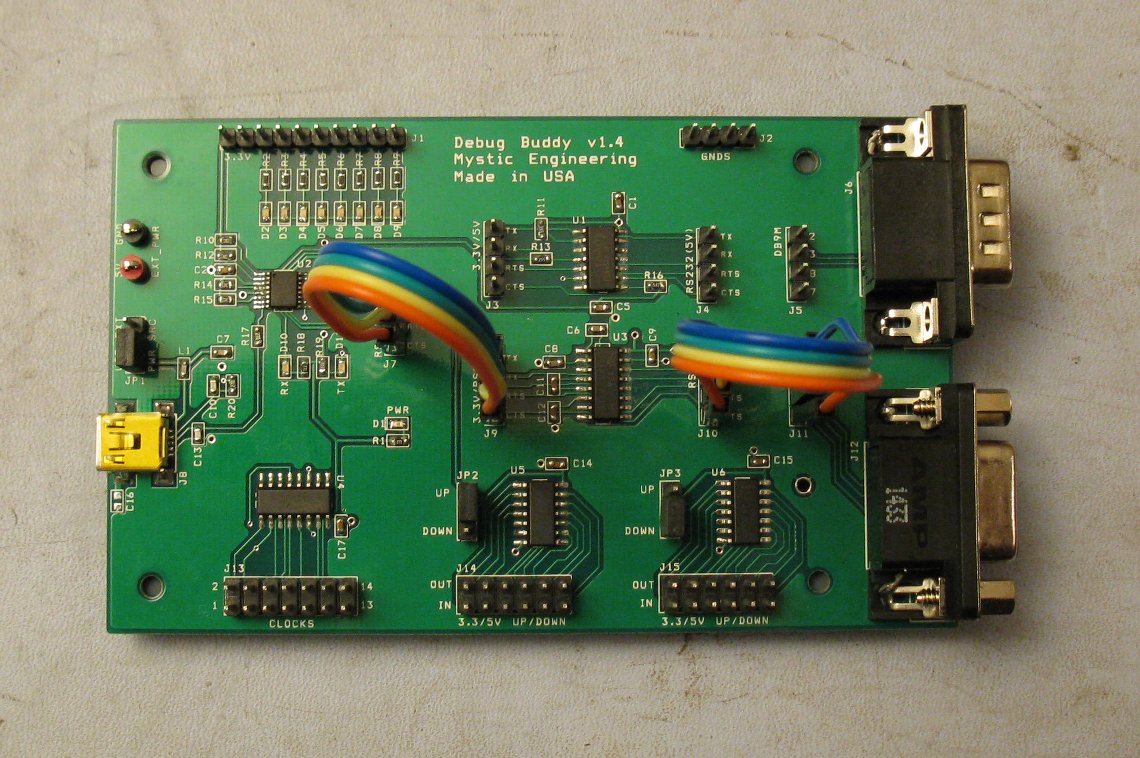
USB serial port with standard, 5V and 3V RS232, plus integrated null modem and gender changer. Implements TX/RX and RTS#/CTS# for optional hardware handshake. Also includes 3.3V<->5V level shifters, debug LEDs, and 13 clock sources. Valuable tool for hands on problem solving and hacking |
